Dongle Access is Here!
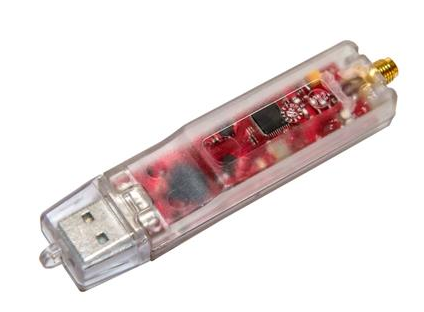
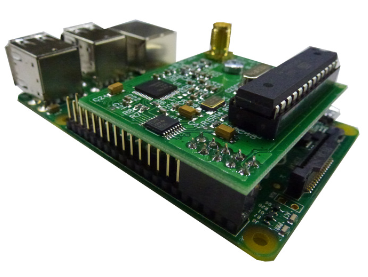
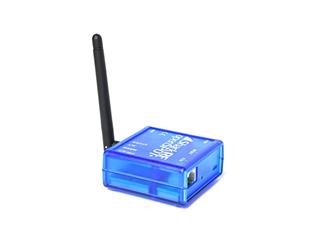
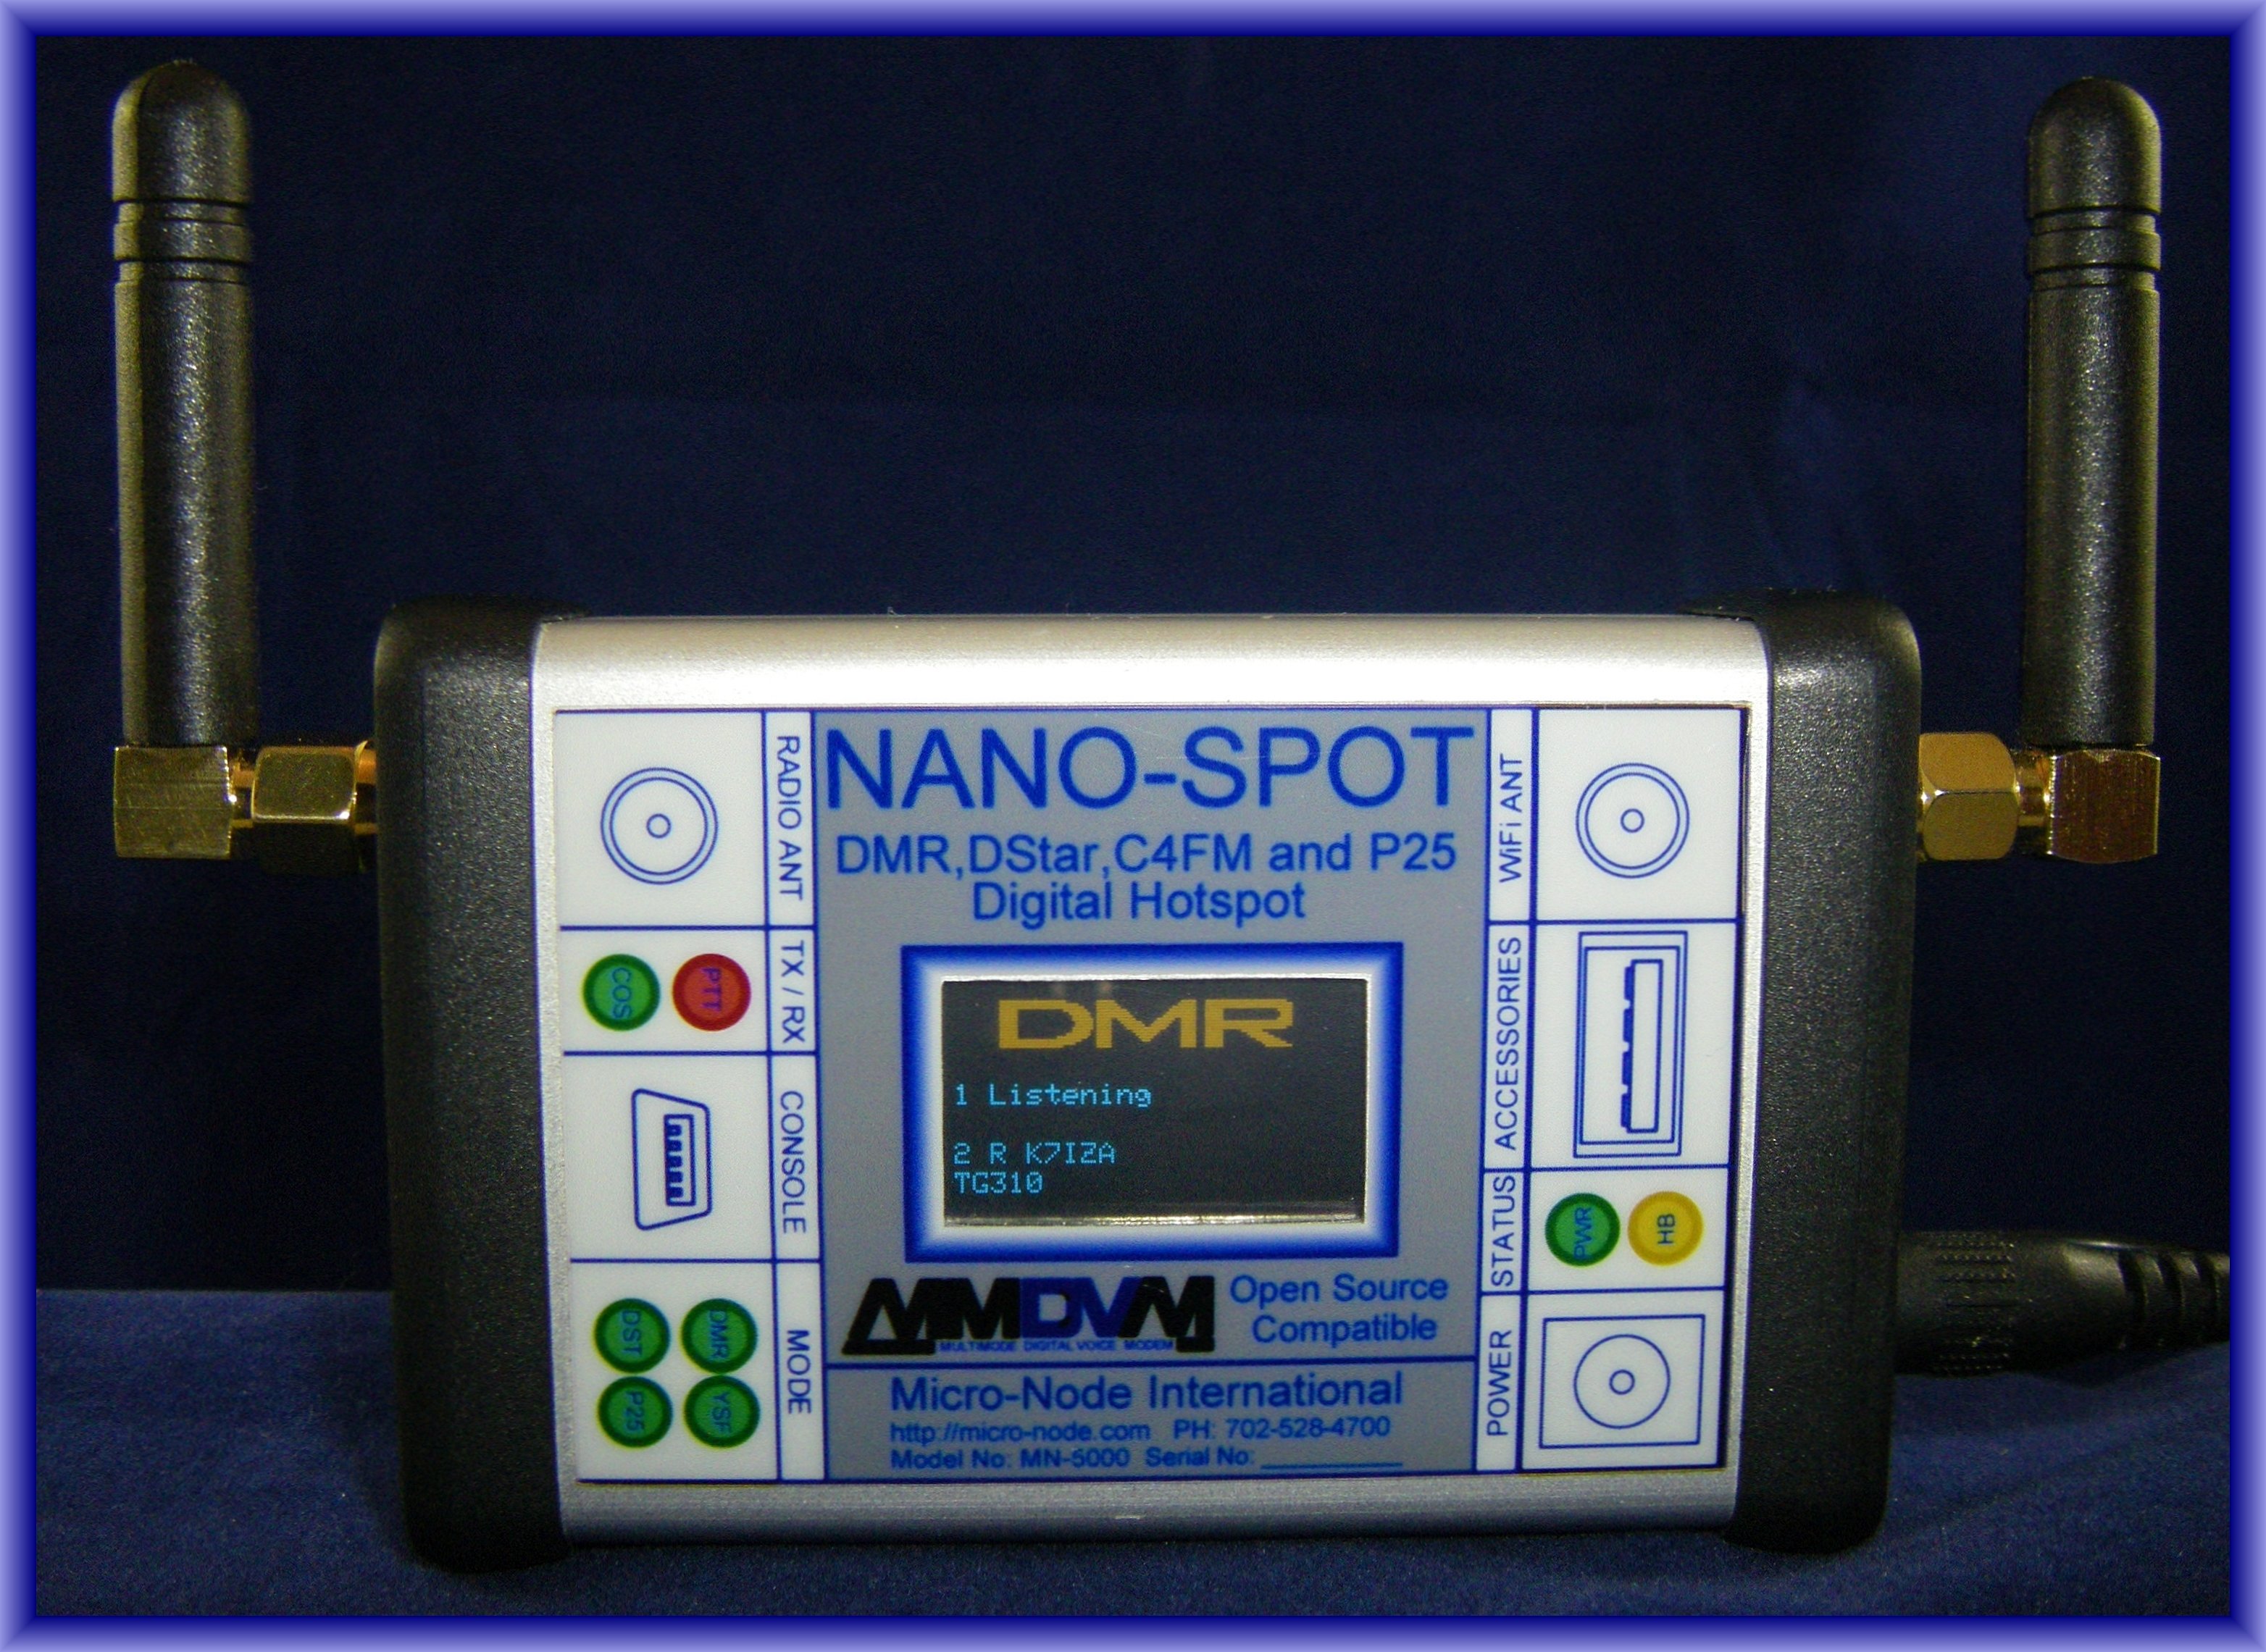
TriState DMR is excited to announce worldwide remote access with the DV4mini from Wireless Holdings, the DVMEGA using MMDVM, the OpenSpot from SharkRF, the ZUM Radio Mini, and the NanoSpot from MicroNode
 |
 |
 |
 |
Our TS1 TG8 Tri State Talkgroup is also available via PIStar on DMR Plus REF4649 and Yaesu System Fusion YSF08623 (XLX312 TriState). PiStar is an excellent way to also access other DMR, DStar and Fusion radio systems.
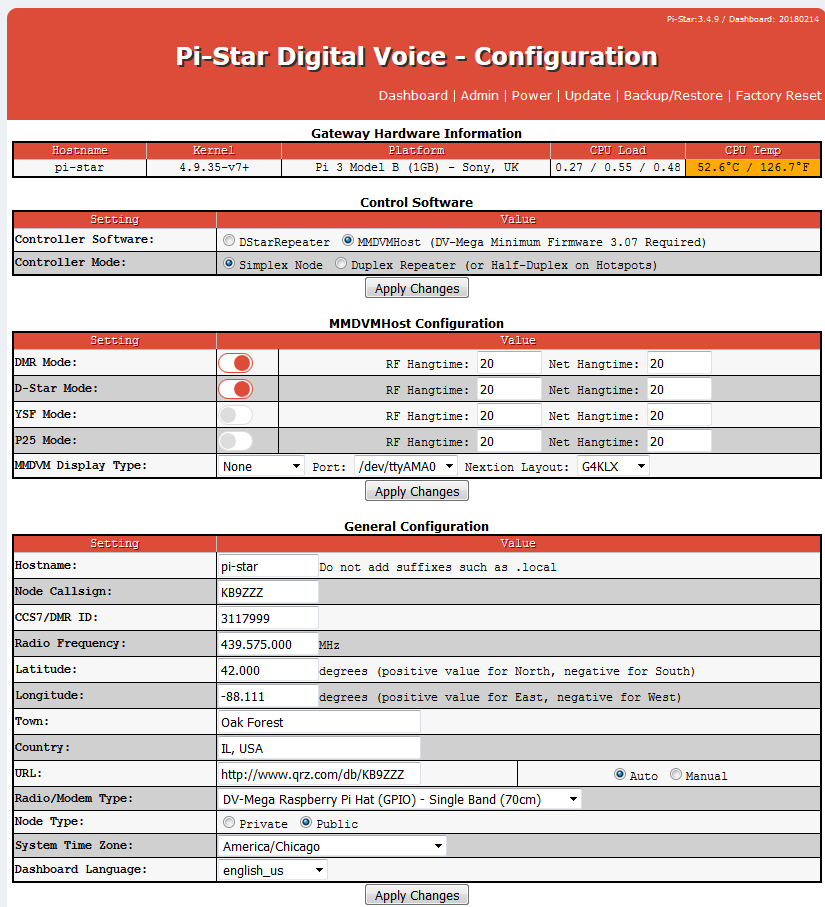
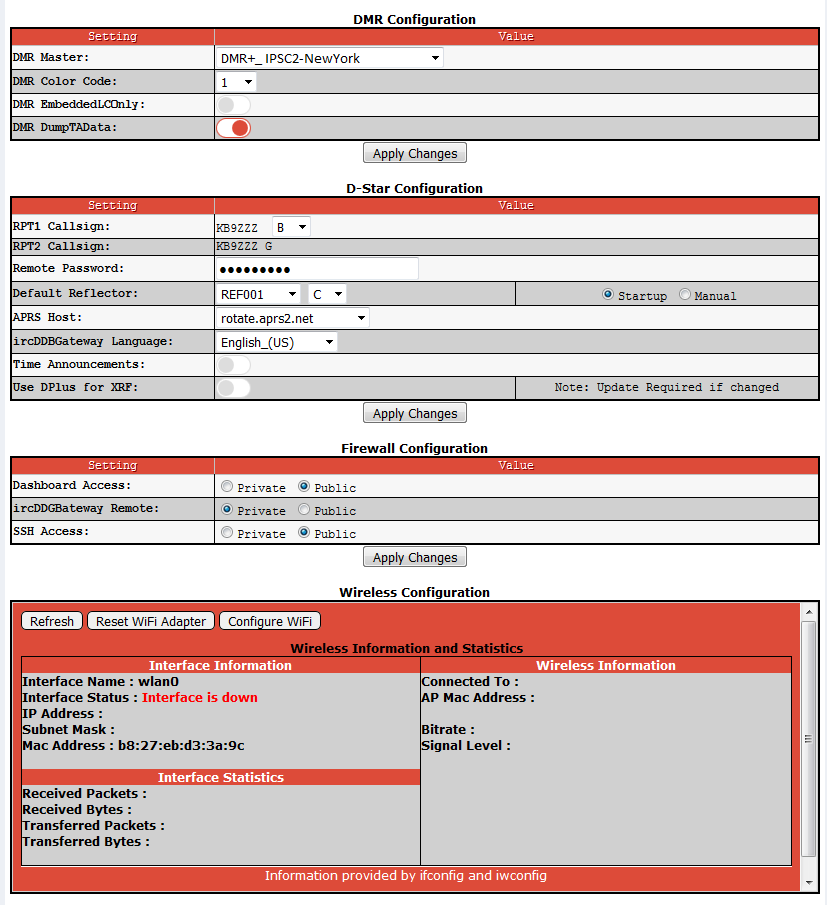
Instructions for DVMega Raspberry Pi Software Configuration (Most Recommended for Reliability!)
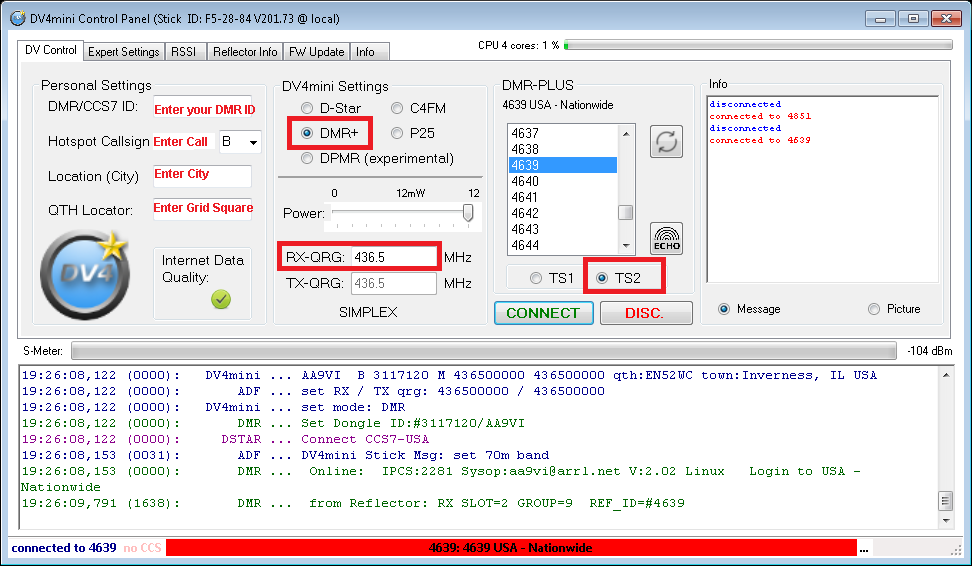
Instructions for DV4Mini Software Configuration
1. Download and install Visual C++ 2013. (both x86 and x64 for 64-bit machines and x86 for 32-bit machines).2. Download and install the DV4mini software
3. Follow the screenshots to configure your personal information in the DV4mini software in the DV Control tab.
4. Go to the Expert Settings tab and select you nearest server. Choose IPSC2-Chicago, or IPSC2-NewYork.. Do not choose any "BM" servers.
5. Adjust the DMR - QRG Correction in the Expert Settings tab to show the lowest error rate. Red is high error, Yellow is medium, green is low error. You need to transmit to see the bit error rate (BER) bar. We have seen +150 to +300 Hz be optimal, depending on the type of radio you use.
6. Choose a talkgroup after selecting the TS2 radio button. Then Choose "Connect" on the DV Control tab.
7. Go to TS2 TG9 on your radio for all calls. (This is similar to what D-Star does with the "T" channel profile.)
8. Be sure to wrap foil tape on your DV4 mini and insert a 2 or 3 foot cable between your DV4mini SMA port and the antenna. The DV4minis have RFI issues in DMR mode. If you do not do this, the dongle will key up every 2 minutes and we may have to block your connection, unfortunately.

Instructions for Shark RF Open Spot
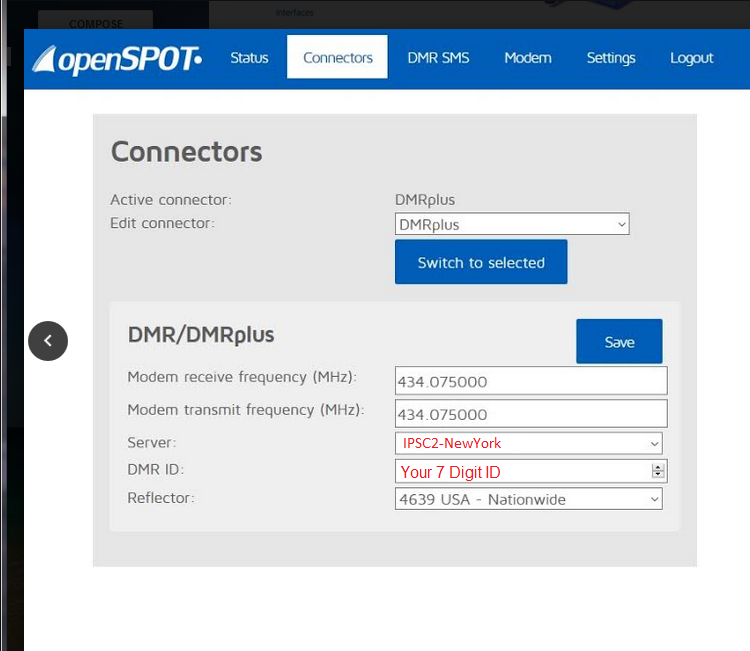
Again, use IPSC2-Chicago, or IPSC2-New York servers. Do not use BM servers.
Instructions for DVSwitch or manual MMDVM
[General]
Callsign=YOURCALLSIGN
Timeout=180
Duplex=0
# ModeHang=10
RFModeHang=10
NetModeHang=3
Display=None
Daemon=0

[Info]
RXFrequency=436500000
TXFrequency=436500000
Power=1
# Positive Latitude is degrees north
Latitude=0.00
# Negative Latitude is degrees west
Longitude=-0.00
Height=1
Location=YOURGRIDSQUARE
Description=DVMEGA
URL=dmr-marc.net

[Log]
# Logging levels, 0=No logging
DisplayLevel=1
FileLevel=1
FilePath=.
FileRoot=MMDVM

[CW Id]
Enable=1
Time=10

[DMR Id Lookup]
File=DMRIds.dat
Time=24

[Modem]
Port=/dev/ttyAMA0
# Port=\\.\COM3
TXInvert=1
RXInvert=0
PTTInvert=0
TXDelay=100
DMRDelay=0
RXLevel=50
TXLevel=50
# CWIdTXLevel=50
# D-StarTXLevel=50
# DMRTXLevel=50
# YSFTXLevel=50
# P25TXLevel=50
OscOffset=0
RSSIMappingFile=RSSI.dat
Debug=1

[UMP]
Enable=0
# Port=\\.\COM4
Port=/dev/ttyACM1

[D-Star]
Enable=0
Module=A
SelfOnly=0

[DMR]
Enable=1
Beacons=0
Id=Your7DigitDMRID
ColorCode=1
SelfOnly=0
# Prefixes=234,235
CallHang=3
TXHang=4

[System Fusion]
Enable=0
#RemoteGateway=0

#[P25]
#Enable=1
#NAC=293

[D-Star Network]
Enable=0
GatewayAddress=127.0.0.1
GatewayPort=20010
LocalPort=20011
Debug=0

[DMR Network]
Enable=1
# Midwest Server
Address= 207.148.14.103
# Northeast Server
# Address=192.241.175.221
Port=55555
Jitter=300
# Local=3350
Password=passw0rd
Options=StartRef=4649;RelinkTime=60;UserLink=1
RSSI=0
Slot1=0
Slot2=1
Debug=0

[System Fusion Network]
Enable=0
LocalAddress=127.0.0.1
LocalPort=3200
GwyAddress=127.0.0.1
GwyPort=4200
Debug=0

#[P25 Network]
#Enable=1
#GatewayAddress=127.0.0.1
#GatewayPort=42020
#LocalPort=32010
#Debug=0

[TFT Serial]
# Port=modem
Port=/dev/ttyAMA0
Brightness=50

[HD44780]
Rows=2
Columns=16

# For basic HD44780 displays (4-bit connection)
# rs, strb, d0, d1, d2, d3
Pins=11,10,0,1,2,3

# Device address for I2C
I2CAddress=0x20

# PWM backlight
PWM=0
PWMPin=21
PWMBright=100
PWMDim=16

DisplayClock=1
UTC=0

[Nextion]
# Port=modem
#Port=/dev/ttyAMA0
Brightness=50
DisplayClock=1
UTC=0
IdleBrightness=20

[OLED]
Type=3
Brightness=0
Invert=0

[LCDproc]
Address=localhost
Port=13666
#LocalPort=13667
DimOnIdle=0
DisplayClock=1
UTC=0